
1Flow makes it very easy to reach out to your users in-the-moment and automate user feedback at scale.
In this guide, we will create your first survey together.
Preparation
What you’ll need:
- A 1Flow user account with Editor/Owner/Admin access 💻
- 1Flow SDK installed in your project ✅
- Approximately 15-20 minutes ⏱
Now let’s get started!
Create your first survey
Step 1: Create a survey
- Go to your 1Flow dashboard (https://dashboard.1flow.app)
- Click on the “Create Survey” button
- Browse the template collection categorized by goals (or create a blank survey)
Step 2: Edit the content
Set up the title and language(s) for this survey
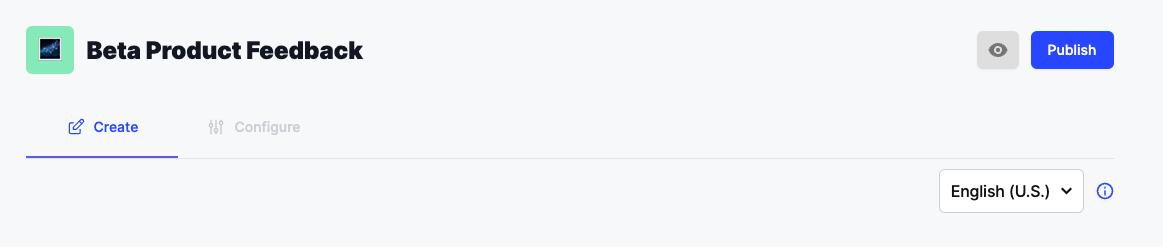
- You can click to edit the survey title - 1Flow will automatically save your changes
- You can add content for the same survey in one or more languages. By default, your project’s primary language is English (U.S.) but you can change this in settings > project.
Here’s a guide on how to set up languages for your project if you need more information.
Edit the content for each question screen
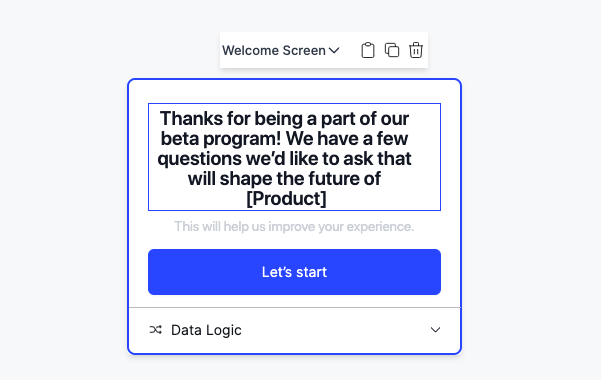
Click on any screen to immediately start editing the text. All changes are auto-saved.
You can switch orders by dragging.
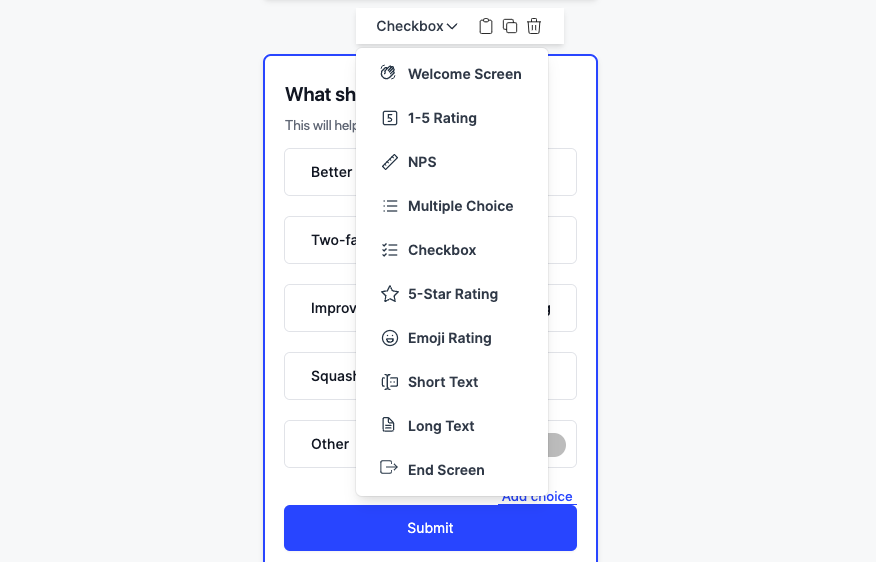
From the dropdown menu, you can change the screen type of any question screen.
Step 3: Configure survey settings
Customize the design to fit your brand
Click on
Configure to navigate to survey settings. Here you can customize the appearance for your survey.You can select Brand Color, Background Color, and Text Color using either the color picker, or directly inputting the hex color value (without the leading
# character). You can preview your changes by clicking on the Preview button (with 👁️ icon) next to Publish button.
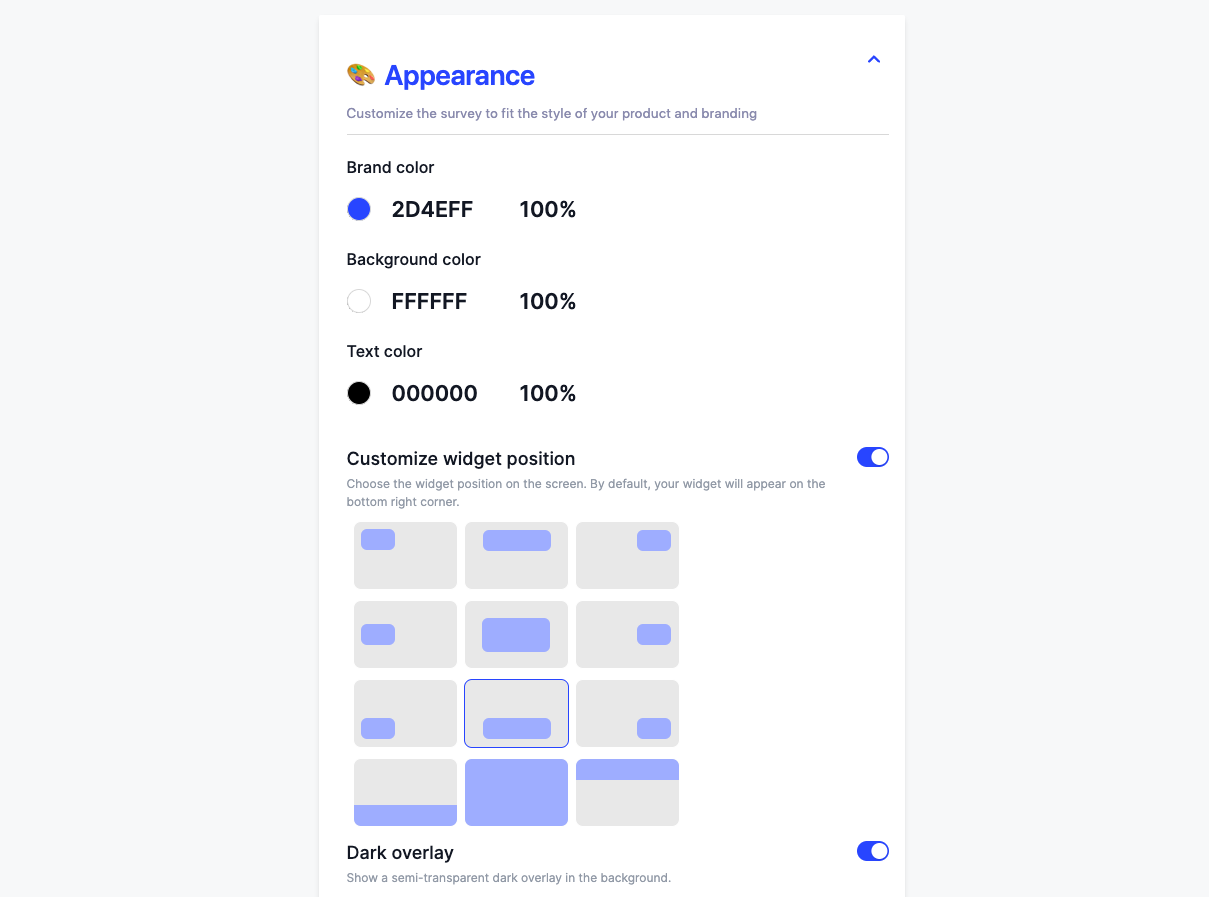
You can further customize the widget position and many more options.
Want to customize the font? This is part of the SDK integration process.
Refer to the SDK installation guide for your tech stack for more details.
Select which platforms to launch this survey
1Flow is cross-platform. That means you can launch the same survey across mobile, web, and shared link.
Select the platform(s) that make the most sense for your needs.
We recommend to start with one of web or mobile (iOS/Android).
Note: for shareable link, you’ll need to first publish the survey before you can try it.
Select trigger(s) and target the right audience
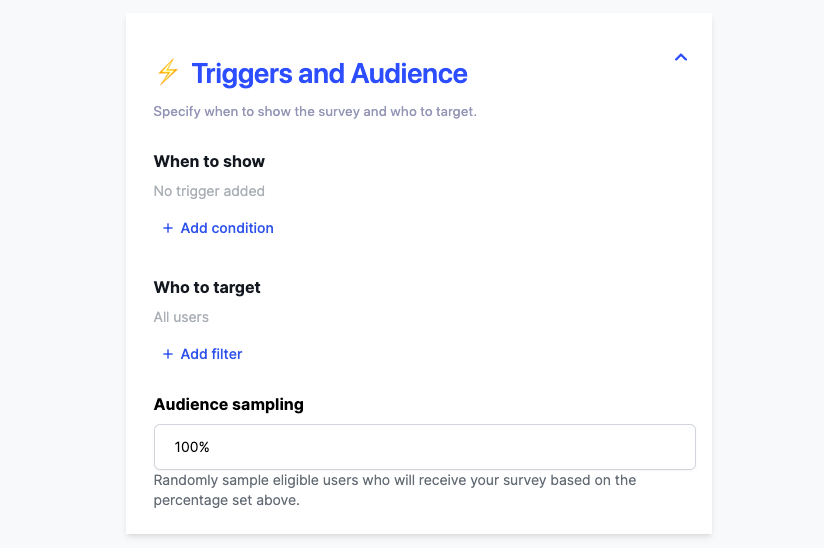
Triggers: To trigger 1Flow survey, you’ll need either an event trigger (both web and mobile), or a page trigger (web-only).
At least one trigger is required, but you can add multiple triggers as you like.
Note: If you are only using the survey as sharable link, then you don’t need to add any trigger.
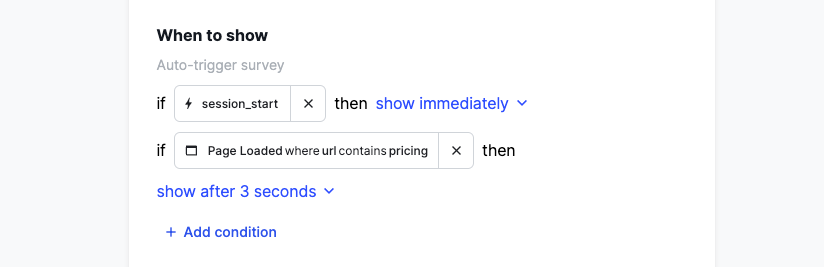
For mobile, you can add event rule
session_start. This is the default 1Flow event tracked automatically when the app launches. For web, you can start with a page rule
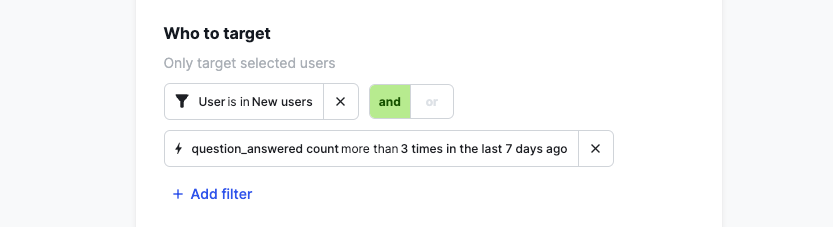
URL contains yourdomain (such as “1flow.app” for us), or URL contains pricing if it is targeted at the pricing page. Audience: You can optionally limit the survey to a selected audience.
With audience rules, you can specify user filters based on user traits, events performed, and/or cohort membership.
Leave empty if you want all users to see it.
Confirm the frequency options
Recurring: if you want the same user to periodically give you more feedback.
Set recurring survey - can retake after
0 hours/minutes if you want the feedback form to be persistent (e.g. triggered on every button click). Single use: if you want each user to only submit one response ever.
More options available, but for now you can keep them untouched.
Start collecting insights
Publish the survey
Click on Publish button.
If all your settings are correct, it will be published successfully.
If any errors, please follow the prompt to fix issues before trying again.
While it’s unlikely, if you ever get stuck, please email
support@1flow.ai or use the in-app chat widget to ask for help - we’re typically fast to respond.View responses and analytics
You can click on the survey title in the surveys page of your 1Flow dashboard to access the report, anytime after the survey is published.
Here you’ll see the engagement stats (total viewed / responded / response rate), breakdown for each question, and many filters and date range picker.
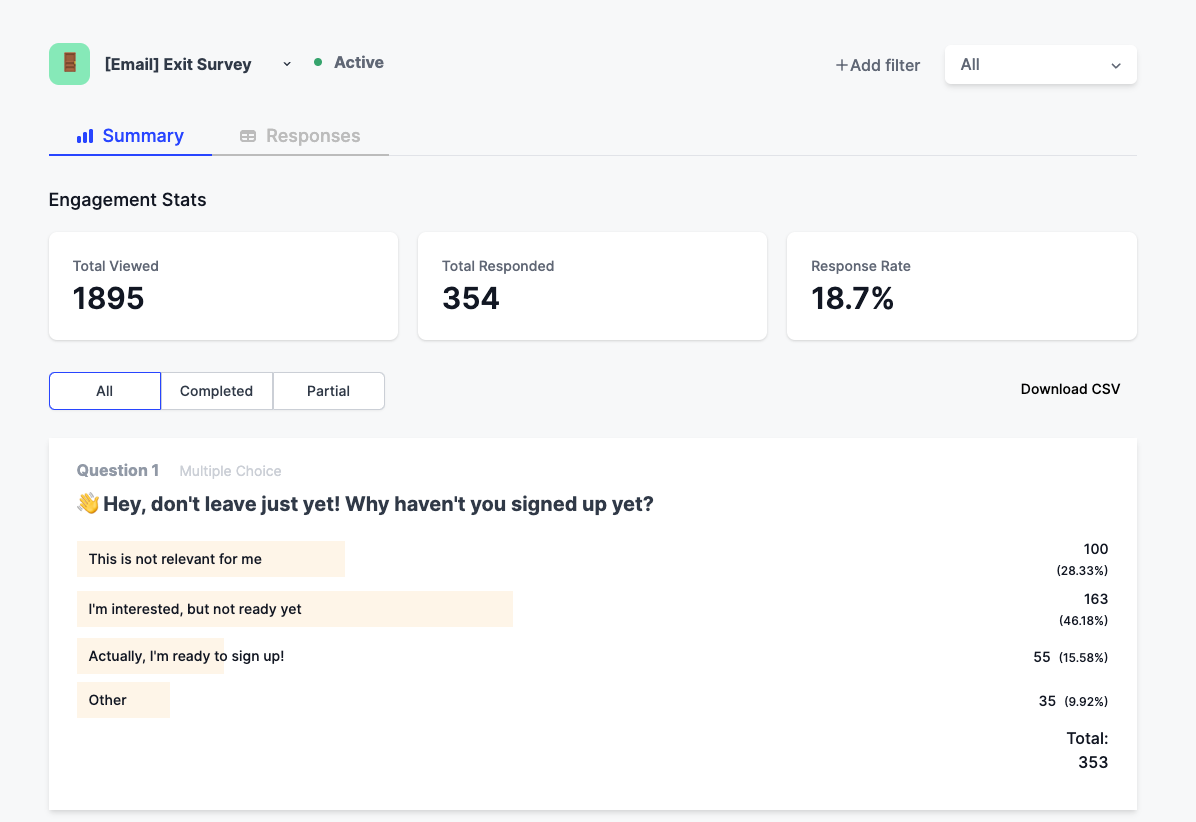
You can also download CSV for further analysis.
In the Responses tab, you’ll see each individual response, linked to the user’s profile - so you can tie the feedback to user identity and understand their journey with user’s 360 profile.
Congratulations! You have successfully launched your first in-the-moment user feedback survey(s) using 1Flow’s powerful platform. Customer understanding will officially become your competitive advantage as you leave competition behind in dust.
Get notified about responses
1Flow is more powerful when you connect it to your team’s workflow.
We recommend every team to set up Slack / Email alerts, so that the customer feedback is automatically channeled to the right team members to review and take action.
Setting this up is super easy and can be done in the next 60 seconds.
- Head to 1Flow Dashboard > Integrations
- Connect your Slack workspace by clicking on Connect button and following the instructions
- Save your changes
Further reading: